Process mapping starts with the process goal, and a good process name. Tasks fill in the next level of detail in your process map. This article describes how to identify and organise tasks in a process mapping session.
This article follows on from the Introduction to process mapping.
Previous steps in process mapping
In a business process, each task describes work that you must perform to achieve the process goal. The tasks depend on the process goal, so you have to understand the goal before identifying the tasks in a process. You could start with other aspects of the process than identifying tasks, but tasks are usually the most concrete part of the work.
The introduction used the example of an employee onboarding process. Onboarding has the advantages of being familiar to everyone, important to do well, and simple enough that you can use it for an introductory process mapping session without getting bogged down in detail. For this example, you can name this process ‘Onboard new employee’.
For this part of a process mapping session, you also need sticky notes and marker pens, and a wall, flip chart or table to arrange the sticky notes on.
Identifying process tasks
Start by identifying and naming the tasks in your business process. For the onboarding process, you can start by listing things that you need to achieve the process goal. To start with, a new employee needs office facilities, tools and access to IT systems, such as:
- desk and telephone
- laptop
- email account.
You can translate these requirements into tasks that someone must complete to make them available.
In general, you identify tasks by talking about the the work that someone has to do to achieve the required results.
Naming process tasks
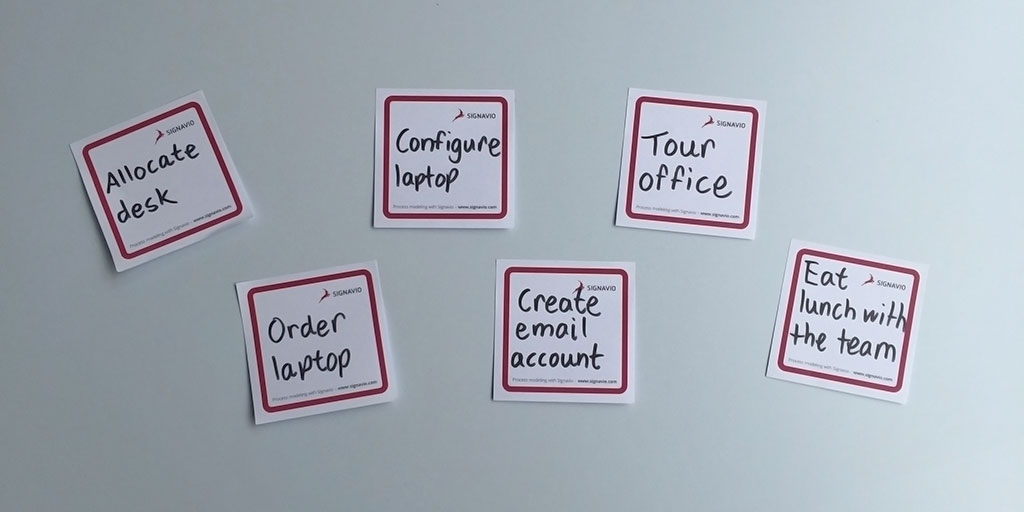
When you talk about the work that someone must do to reach the process goal, you will find it easier to have a name for each task. Onboarding tasks based on the requirements above plus other first day tasks can include the following.
- Allocate desk
- Order laptop
- Configure laptop
- Create email account
- Tour office
- Eat lunch with the team
Task names should concisely and consistently describe the task activities. In fact, good task names follow the same guidelines as good process names.
- Describe the result of completing the task.
- Use an imperative verb phrase - usually starting with a verb - that can complete a sentence like ‘Your next job is to…’
- One word probably isn’t enough; more than three or four is probably too many.
- Avoid vague words like ‘manage’, ‘do’, ‘process’ or ‘handle’.
Task names have the same purpose as process names, because tasks and tasks may themselves be processes at another level of detail. If you break down the work in a single task, you may discover subtasks that form a process of their own.
To identify and name tasks in a group, write each task name on a sticky note and put them on a table, wall or whiteboard. This works better when you write down ideas for tasks before you discuss them, instead of discussing each idea before writing it down. Visualising the work by writing task names on sticky notes as you think of them gives input to the discussion, while only writing them down after the discussion merely records the result.
Note that if you put sticky notes on the wall, make sure you use correct Post-It technique so they don’t fall off during the workshop. You may still lose sticky notes anyway, so take regular photo ‘backups’ of your work.
Making a timeline
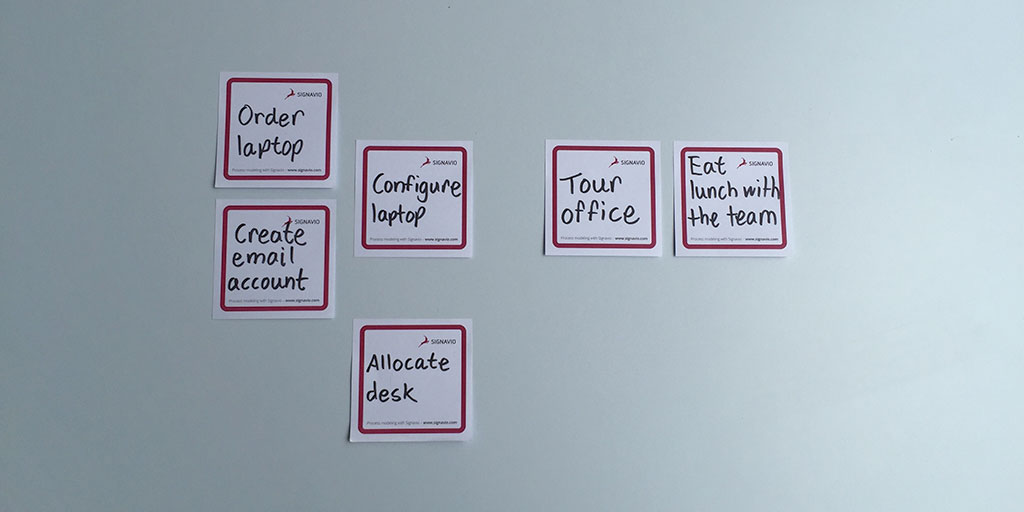
The next step starts to introduce relationships between tasks. For example, you have to order a new laptop before you can get one and configure it. You also have to create the new email account before you can configure the laptop to use it.
You can show dependencies between tasks by arranging the tasks into the order they have to happen in, from left to right to make a timeline of the flow. Lining them up neatly is optional, but some people prefer things that way.
In this example, both ‘Order laptop’ and ‘Create email account’ must be complete before you can start ‘Configure laptop’. However, you can do them both at the same time, because they don’t depend on each other. You can indicate this in the timeline as well.
When two tasks may happen at the same time, arrange them vertically in the timeline. By laying out tasks like this, you literally see your process take shape.
Next steps in process mapping
Now that you’ve chosen a process to work on and used tasks to create an outline, the next steps continue to add detail.
- Process Mapping Causes/Events - why the work happens when it does
- Process Mapping Roles - who does the work
- Process Mapping Hassle vs Value - which parts of the work are essential and eliminating waste
- Process Mapping Conclusions - lessons learned, software tools, next steps.


